
Thought for the day

Now called Hipstitch Academy

I see a lot of top 5 this and top 5 that on other blogs and thought it might be a fun theme to try on our blog.
I am totally not a gadget person and don’t fall for a lot of the crazy notions out there one can purchase for sewing. There are sooooo many and if we tried them all we’d go broke. And more than half the time, there’s no need for the gadget because the job can be done just as well with something common place you already have. (I have never crocheted in my life, but you can find a huge assortment of crochet hooks in my studio because they make the best pokers when turning something skinny right side out!)
That said – there is still a nice collection of things we use regularly while making our many sewing projects and teaching others to stitch. Some would be just plain hard to live without.
So here they are in no particular order:
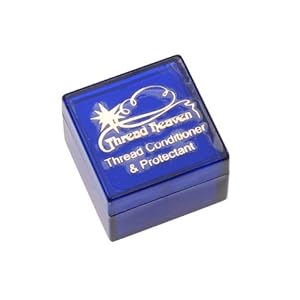
Number 5:
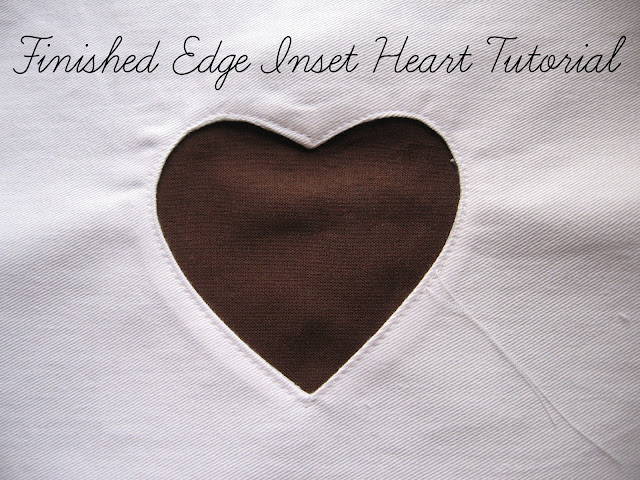
Pellon Wonder Under
Paper-backed fusible web that turns any fabric into a fusible fabric. Fuses fabric to fabric or to a porous surface such as wood or cardboard. This is the stuff you use when you have to applique fabric to anything! It can be tricky to use for beginners so here are some instructions I found from Ask the Crafter.

1. PRESS & CUT
* Place rough side of Wonder-Under against wrong side of fabric. Press for 5-8 seconds with hot, dry iron. Let cool, draw desired shape onto paper backing, then cut
* Alternative method: Trace shape onto paper backing, cut to size, then press, rough side down, onto fabric. (Note: To avoid backward letters and numbers, draw on rough side of Wonder-Under with ballpoint pen. For dark fabrics, redraw shape on paper side.)
2. Step 2: PEEL & FUSE
* Gently peel off paper backing. Position fusible fabric, web side down, on the project. Cover with DAMP press cloth.
* With iron at wool setting, press FIRMLY for 10-15 seconds. (Heavier fabrics = more time.) Repeat, lifting and overlapping iron until all fabric is fused.
* Remove press cloth and iron fabric to eliminate excess moisture.
* Tip: Use your damp press cloth as a temperature and timing guide. After 10 seconds, press cloth should be dry. If not, raise iron temperature or hold iron in place a few seconds longer.
* Tips: With “fat/thin” or “heavy/light” fabric combinations, fuse from thinner or lighter side. If necessary, “baste” first by ironing on the right side.
Number 4:
Omni Grid 6.5 x 24″ Ruler
Omnigrid Rulers are the number one selling quilting ruler in the world. They are preferred by professional quilters & teachers all over the world. They are guaranteed to last longer than other rulers. They are the only ruler to maintain +/- .002 inch accuracy. Omnigrid’s patented and trademarked (black and yellow) double sight line make for easy reading and measuring on light and dark fabrics. Markings make right or left handed use easy. Omnigrid Rulers have grid markings throughout. These rulers are made of heavy-duty, premium quality acrylic and laser cut for a smooth edge. Designed and manufactured in the USA. Love them!


Cool blog alert!
Ari Seth Cohen blog Advanced Style, features both men and women, focusing on the elegance and individuality of his silver-haired subjects.

What I like about this blog most is the way the folks featured embrace getting older, rather than retreating.
80 Year Old Rita (left) Has Over 70 Pairs of Outrageous Glasses. She says that her tastes are usually pretty simple. She had lost her small vintage sunglasses somewhere in the neighborhood, so her friend Marty accompanied her to a local mall to buy another pair. Marty picked out a big, fun, over-sized pair of sunglasses for Rita to wear and she picked out a smaller, more simple pair. Rita decided to purchase them both and wore the big pair to a recovery meeting sometime that week. Everyone in the group went wild for Rita’s big shades. People started sending her huge, outrageous pairs of sunglasses from all over the world, resulting in her collection of over 70 pairs. Rita told me that although she wouldn’t normally dress outrageously, she feels that the sunglasses make me people happy. When I asked her how she felt about them she replied, ” They aren’t really my style, but now I don’t want to hurt anyone’s feelings by not wearing the pair they bought for me. Now I feel lost without them. They have become my trademark.”

About the bLogger: My name is Ari Seth Cohen. I roam the streets of New York looking for the most stylish and creative older folks. Respect your elders and let these ladies and gents teach you a thing or two about living life to the fullest. Advanced Style offers proof from the wise and silver-haired set that personal style advances with age.
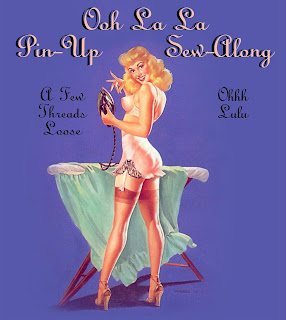
I love this!
Had to re-post this awesome sew-along/contest I found over at Oh Lulu.


This is what I woke up to this morning. I am a lucky girl and I have a super thoughtful boyfriend.
Over the weekend we headed out to Montclair to celebrate the 1 year anniversary of a friends Vintage Boutique called Garnish.
Talk about coveting everything in a store! I love my friend Lisa’s taste and the way she had the store laid out so neat and adorable totally gave me shoppe envy! I could have walked around in there for hours just looking at every last little detail of every item.
I seemed to have recently begun this obsession with old mechanical clocks. I think it has something to do with my obsession with old mechanical sewing machines, but who knows. They’re just pretty cute too.
Anyway – I saw this clock and fell in love. I totally couldn’t justify my purchasing it cause I just don’t need it. I kept shopping around to find a little something a little more practical to spend my money on that night. (HA – practical.) Not sure if I can call what bought practical, but I guess they are a bit more useful than the clock
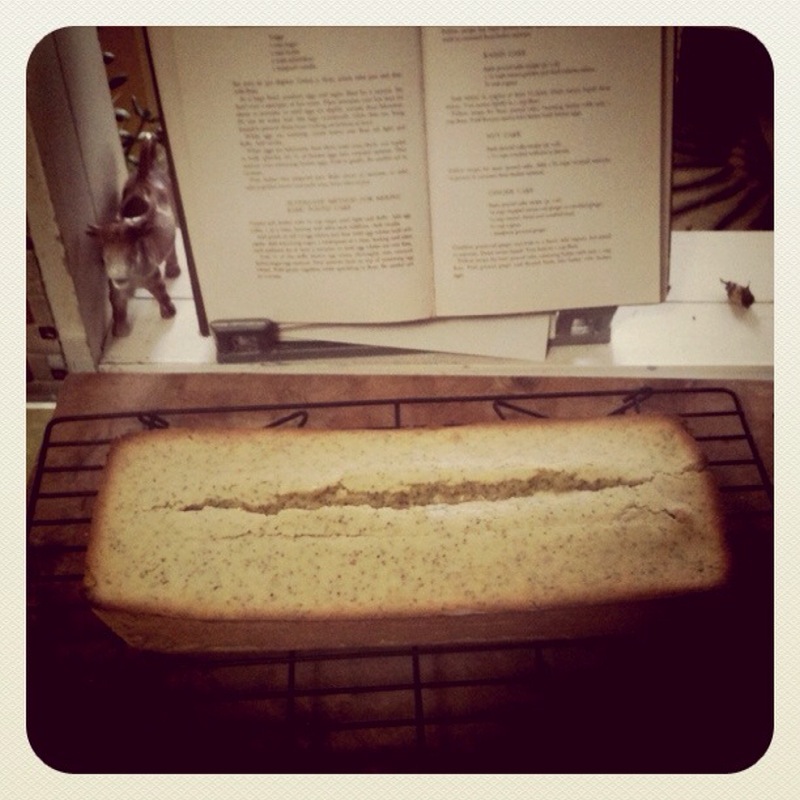
I wound taking home a baking book from 1961 and a mechanical egg beater. Again – am loving anything mechanical that is not electric these days!
Here they are:

Saturday Morning, I immediately had to make something from my new book. (see – totally practical!)
I knew I had some poppy seeds in my pantry, so lemon poppy seed pound cake it is.
Oops, no recipe for that in my new cook book. But that’s okay, I will happily make do.
I used the Basic Pound Cake recipe found on page 116 and added some lemon juice and poppy seeds and all was well and right in the world.
Here is the recipe in case you are interested:
Basic Pound Cake
A delicious, old-fashioned cake, especially good toasted (from the book, not me)
6 eggs
1 cup sugar
1 cup butter
2 cups sifted flour
1 teaspoon vanilla
(I added the juice of one lemon, some zest & half a bottle of poppy seeds)
Set oven to 350 degrees. Grease a deep, 9 inch tube pan and dust with flour.
In a large bowl, combine eggs and sugar and beat for a minute. Set bowl over a saucepan of hot water. Place saucepan over low heat for about 10 minutes, or until eggs are slightly warmer than lukewarm. Don not let water boil. Stir eggs occasionally while they are being heated to prevent them from cooking on the the bottom of the bowl.
While eggs are warming, cream butter and flour till light and fluffy. Add vanilla.
When eggs are lukewarm, beat them until cool, thick and tripled in bulk. Quickly stir 1/4 of beaten eggs into creamed mixture. Pour mixture over remaining beaten eggs. Fold in gently. Be careful not to overmix.

Pour batter into prepared pan. Bake about 50 minutes, or until cake is golden brown and pulls away from sides of pan.
Megan Side note: All that business about warming the mixture over the hot water was skipped in my version. I just made sure the eggs weren’t cold when I mixed them with everything else. I did this by letting them sit under warm water coming out of the tap of the sink. I also didn’t really beat the eggs as they said. I beat them with the sugar with my new beater, but then procedeed to add all the ingrediants and bake it.
The more I think about it, I really didn’t follow the directions at all (suprise, suprise). But my turned out okay. I had to take it out of the oven a bit early cause I had to head to work so there was some oozing batter when I cut into it later that day when I tried a pice. This was because it wasn’t quite cooked all the way through. But I have to say, I am a big fan of any cake just a little bit underdone. Is that gross?


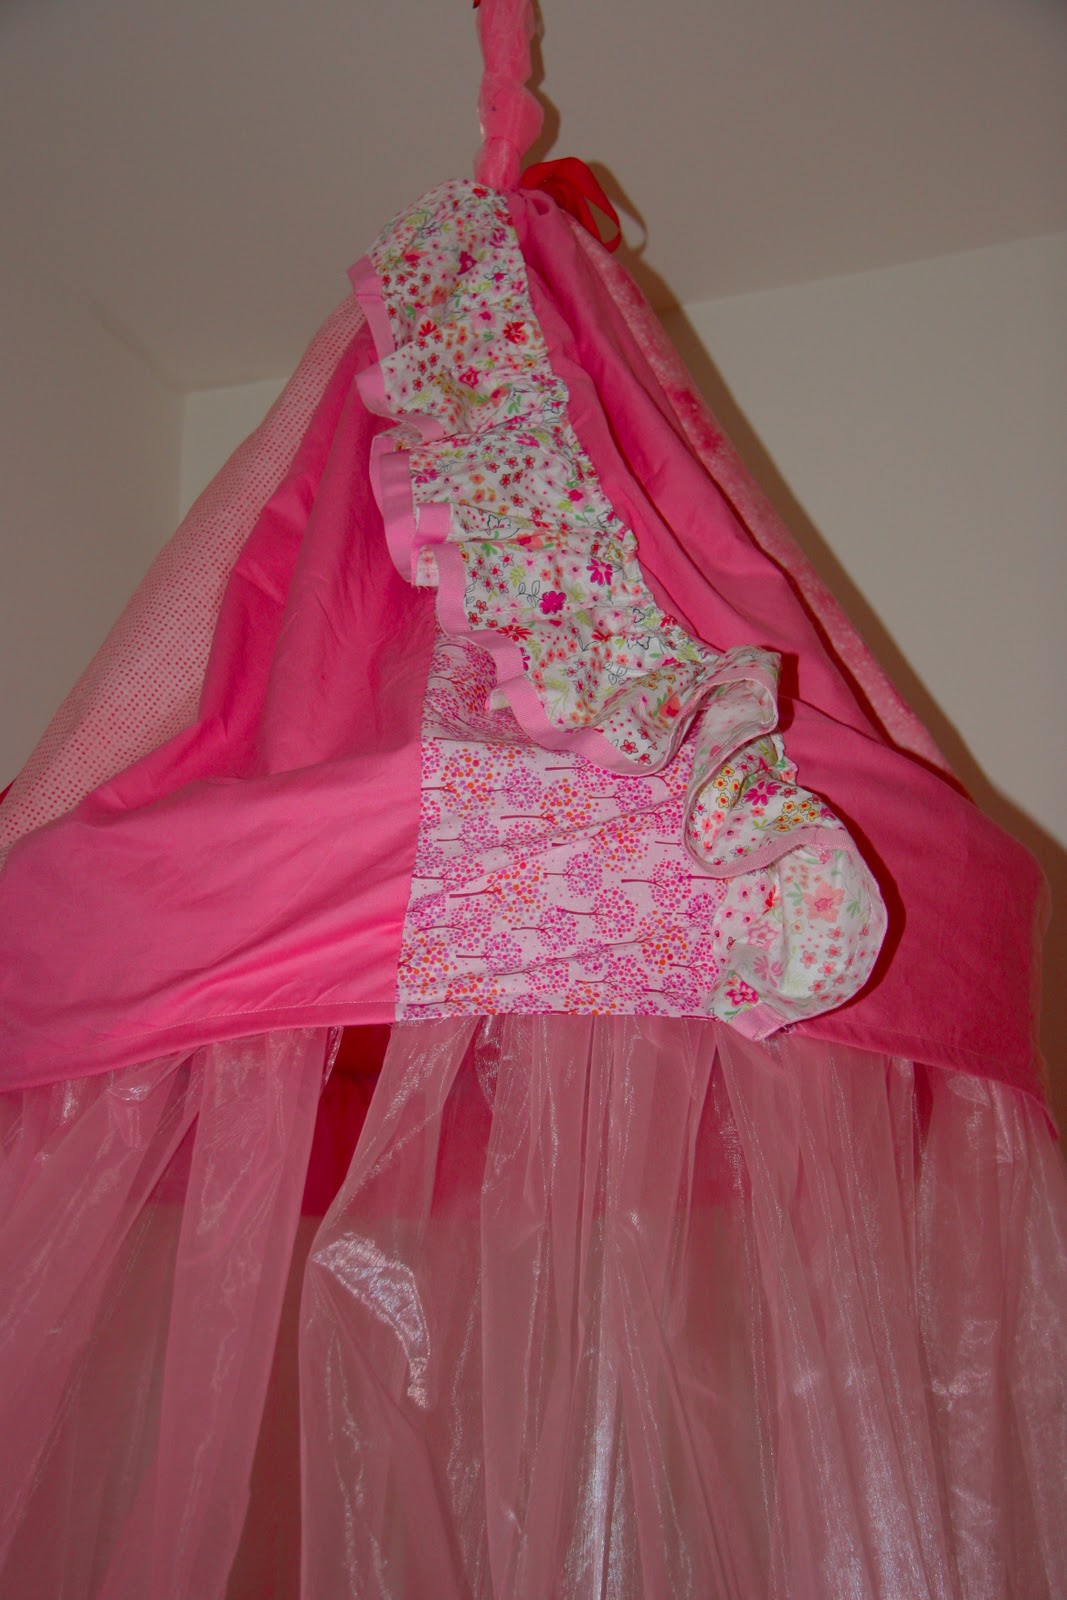
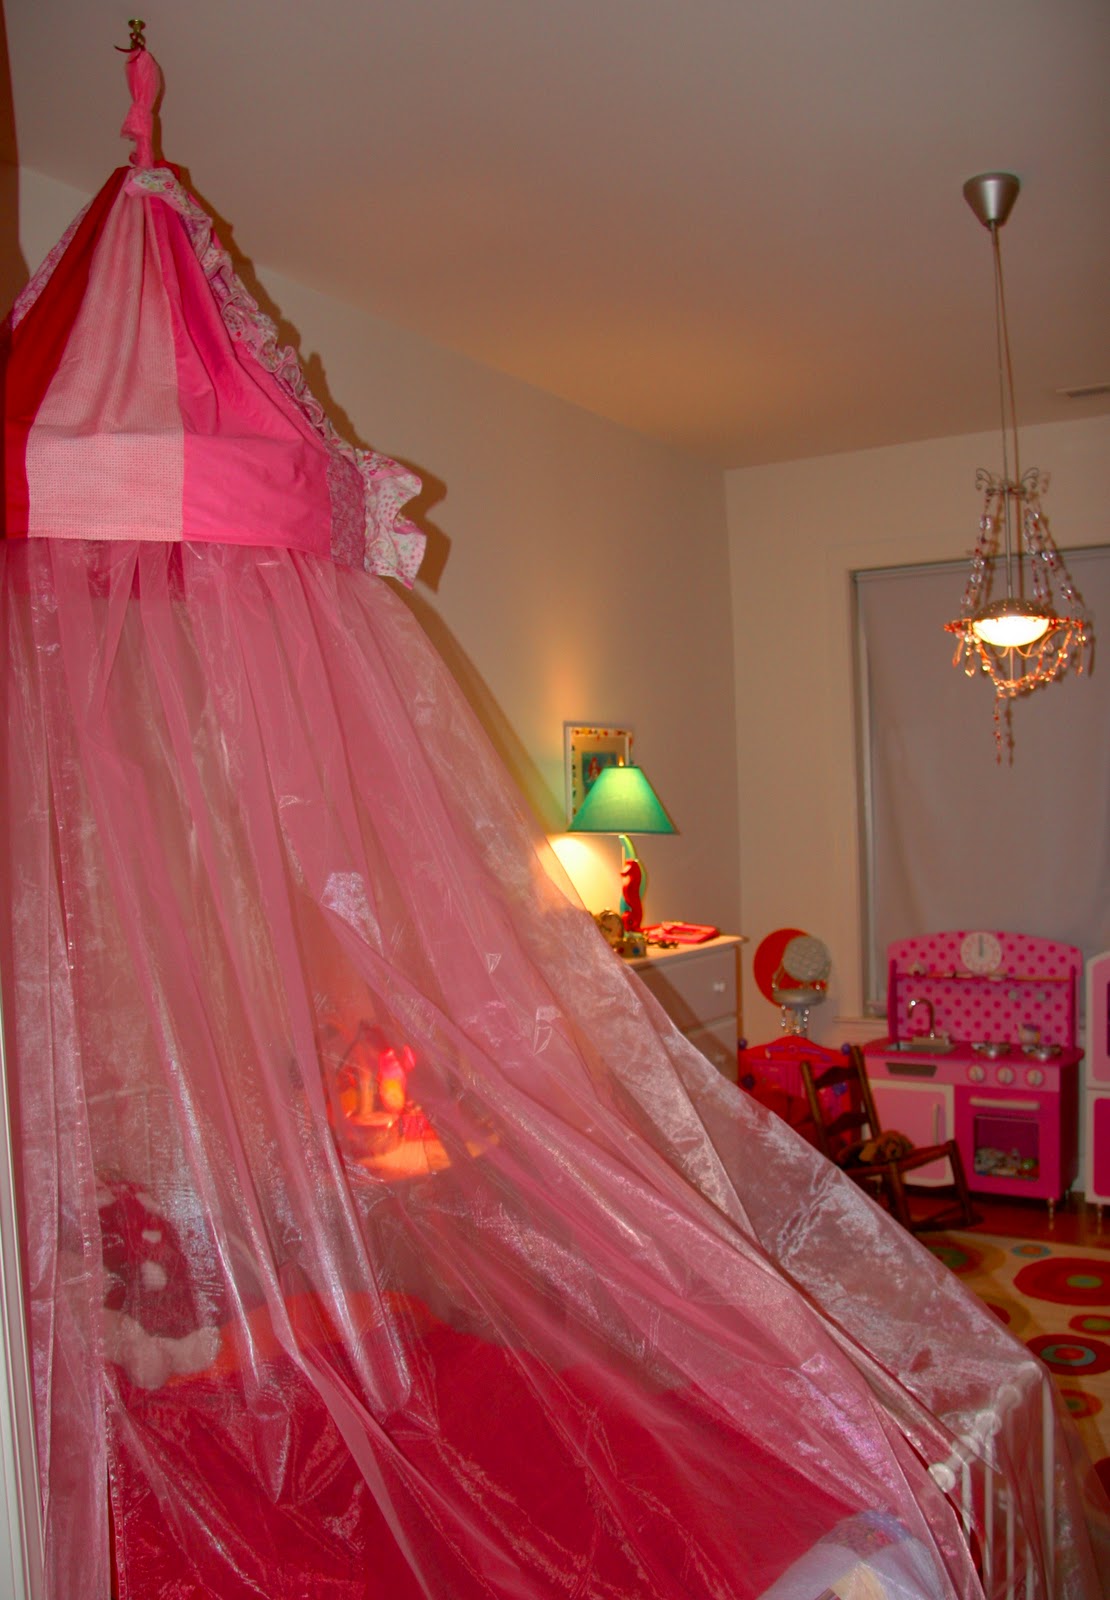
We had to share some photos with you with a project we finished up for Christmas. This pink, dreamy canopy was commissioned for one of our favorite 6 year old sewing students by her mom. In all our holiday frenzy to get orders finished up, we did not have a chance to photograph the finished project. But luckily her mom sent me these photos of the canopy hanging in Ruby’s room.
Gosh, I wish I had one of these when I was six.


Construction optionsYou can get successful results on knits whether you own a basic sewing machine or the latest high-tech serger. I began sewing on knits long before I owned a serger, and I still recommend my original technique of sewing with a long straight stitch of 9 sts/in. (3 mm), stretching the seam as I sew it (as much as the fabric stretches easily) to add elasticity. When the seam returns to its normal length, the stitches are closer together and the upper and lower thread tensions have loosened. As for using zigzag or stretch stitches to construct seams, I’ve simply never liked them.
For double knits that will stay pressed open, use a 5/8-in.-wide seam allowance. For single knits that tend to curl, I recommend a 1/4-in.-wide seam, which you can finish two ways: either press it to one side and topstitch for a professional look, or sew a second line of stitching 1/8 in. from the first and then press to one side. The double-sewn seam adds strength and helps keep the seam flat.
If you have a serger, you’ll find serging a quick way to assemble knits with a finished, factory look, and the seams will have built-in elasticity, so you don’t need to stretch them as you sew. Make sure your stitch is balanced, adjusting the thread tension so that the stitch doesn’t bind or ruffle the seam. If your serger has differential feed, raise the setting if your test seam looks wavy. For hemming soft knits, I find that serging the edge, turning up a 1/4-in. hem, and topstitching twice gives a stable, nonslippery finish.
We’ll be offering the Mini-quilt workshop again this Saturday from 11am-1pm. This workshop is a classic in our studio so I have added some inspirational photos to this slideshow to show you just what you can do in a 2-hour workshop.
The quilts may be small, but they are oh-so adorable. And making one in this class gives you such a sense of accomplishment. Take a look and feel free to sign up here. There are only 3 spots left.

Just came across this new production from AOL kids. It’s cartoon webisodes of a new show called Martha & Friends that consists of a 10 year old Martha Stewart and her friends hanging out, cooking & crafting in their clubhouse.
I, of course love the idea of any show promoting kids crafting and sewing. I just watched the episode where they all made some changes and embellishments to their favorite jeans. It was pretty basic stuff that most adults would know how to do to add some pizazz to your boring jeans, but I love the idea that it’s cartoon, 10 year old Martha showing you how to do it. And I especially got a kick out of her discouraging her friend from drawing in pen ink on her jeans. She immediately got out the stain fighting kit to help her friend try to get the ink out. How responsible of 10 year old Martha. But come on, even her cartoon hair cut is “responsible”.