From my bed. How I love thee, oh magical Iphone.
– Posted using BlogPress from my iPhone

Now called Hipstitch Academy
From my bed. How I love thee, oh magical Iphone.
 Well, it’s finally here! You can now get any and all of the custom products monogrammed & embroidered.
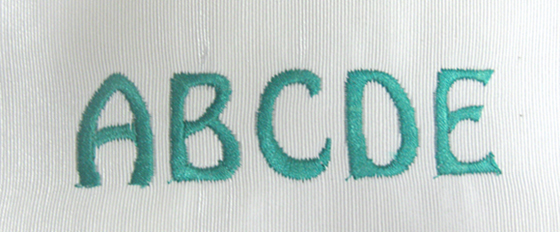
Get your name on just about anything!
We have five different adorable fonts to choose from and you can choose whatever thread color you desire.
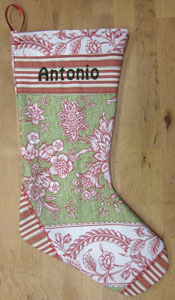
Perfect for the holidays!
And get your orders in NOW for the custom Christmas stocking. It’s $29 Complete with embroidered names.
Check it out here.
Well, it’s finally here! You can now get any and all of the custom products monogrammed & embroidered.
Get your name on just about anything!
We have five different adorable fonts to choose from and you can choose whatever thread color you desire.
Perfect for the holidays!
And get your orders in NOW for the custom Christmas stocking. It’s $29 Complete with embroidered names.
Check it out here.
I love this! I teach sewing but never really knew what went on in the machine to make the stitches. I could stare at this forever!
![]() Little stitchers are invited to design, create and model their very own purple purses!
Little stitchers are invited to design, create and model their very own purple purses!
Students of the M Avery Designs Sewing & Design classes will be creating purple purses to model in the “Lilly’s Purple Plastic Purse” Fashion Show during the October 24th, 2009 Matinee Showing put on by the Mile Square Theater.
Each fashion show participant gets a free ticket to see the show and then gets to walk the runway to show off their very own purple purse creation.
Space is limited, so please let us know if you would like to participate by emailing megan@maverydesigns.com.
You can work on your purple purse designs on your own or at the M Avery Designs Fashion Lab Afterschool classes.
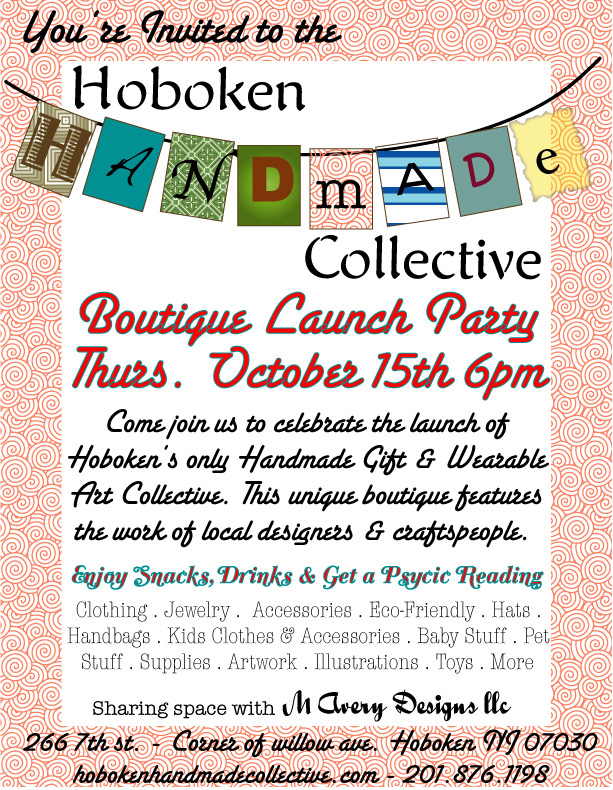
Welcome Hoboken Handmade Collective!
What has been the M Avery Designs Studio & Boutique is now sharing their space with the Hoboken Handmade Collective.
We’ll still be teaching our classes, hosting our parties and selling our wares at 266 7th Street in Hoboken, but we’ll be selling our things along side of SO many other great designers.
Come check out all the handmade goodies at our Launch Party on Oct. 15th, 2009 starting at 6pm.
Here is the invite:
So last night we completed our third of four classes in the First Home Decor Sewing Boot Camp. We had a busy night and since most of the students are first time stitchers, they opted to make the pilllows or pillow covers.
We had a couple of brave souls tackle the ottoman project, and one member even of the class even took a thrift store end table and turned IT into an ottoman. I don’t know about you, but I find when making a project, it’s even more special when it’s taking something un-use-able and making it use-able again. Love that! I guess that is why my apartment is full of mismatched chairs ; )
Anyway – we had another great class and I wanted to share the photos so far with you! Here they are, Enjoy!
If this is looking like something you would like to try, we still have spaces available for the next Fashion Lab Home Decor Class Starting Oct. 22nd! Here are all the details.
 Don’t you just love this?!
I have to get me some metal zippers and try this stuff!
Very cool!
Wow – where did the day go?
Today I was lucky enough to spend most of my afternoon making bias tape from scratch. I needed about 9 yards of bias tape to create piping that would match the fabric I am using to cover a cushion for a customer. The cushion, which will be used to cover a storage unit on her enclosed porch is, no doubt, going to be gorgeous, but it has been such a pain the neck to create the piping.
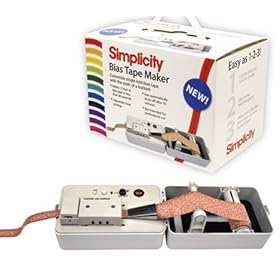
I thought it was pretty funny that I just read this review in my latest Sewing Savvy Newsletter that just appeared in my in box and I thought I just had to pass it along:
I first saw the Simplicity® Rotary Cutter and Bias Tape Maker during my visit to the Pittsburgh Quilt Show this past spring. I watched as the demonstrator showed the process of creating yards and yards of bias tape in minutes and was intrigued. Would it be quite so simple if you did not have all of the items prepped for the demonstration? How long does it actually take to make three yards of bias tape the old-fashioned way of cutting the strips, inserting them through the hand-held bias tape maker and pressing while pulling the fabric end through the tape maker. I decided to explore the art of making bias tape using the Simplicity machines.
 The first part of the test was to open the box of the Rotary Cutter machine, read the instructions and give it a try. I give it high marks as I managed to obtain great results the first time around with only a small adjustment having to be made, raising the blade for a perfect cut. I was able to change out the blades in the machine in minutes, and the serrated blade worked just as smoothly as the straight blade. The sliding adjustment bar is clearly marked, and with just a little practice, I was able to feed the fabric through the machine perfectly.
Conclusion: If you are in need of yards of pre-cut fabric strips, whether straight cut or bias, this machine is fast, and you have the ability to cut continuous yardage for your project. Just imagine one continuous strip, no seams in sight.
The second test came when I opened the box containing the Bias Tape Maker. Once again the instructions were pretty clear and I did not have to wait too long for the light to come on indicating the machine was ready. I liked the fact that I can choose the heat setting, and the indicator light lets me know when everything is ready to go. After rolling the fabric onto the spool and fitting it into the machine, I used a straight pin to insert the end of the strip into the bias tape maker. I find cutting the end of the fabric strip at an angle is extremely helpful when feeding it through the taper maker. I snapped the heat cover over the fabric strip and was able to create perfectly pressed bias strips in no time at all. I am told that the spool is able to hold 12 1/2 yards of fabric strips, which is enough to bind a king-size quilt.
 Once again, if multiple yards of pressed bias strips are needed, this is the way to go. I quickly learned just how fast I could press the fabric strips with not one burned finger. The key, I believe, is to have a designated location for your machines, which eliminates the need to set them up each time they are called into service.
I have heard from my Simplicity® sources that new blades in a variety of cutting shapes as well as additional sizes for the bias tape maker are on the horizon. This is welcome news as I think I am addicted and eagerly await their arrival.